Difference between revisions of "Inserting Background Images"
From OnePager Documentation
m (Text replacement - ".png]]" to ".png|link=]]") |
|||
| Line 3: | Line 3: | ||
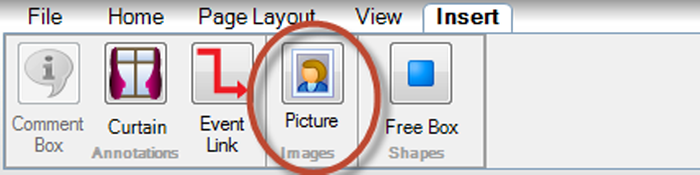
1) To insert an image, go to the OnePager ribbon’s “Insert” tab and click the “Picture” button: | 1) To insert an image, go to the OnePager ribbon’s “Insert” tab and click the “Picture” button: | ||
| − | <center>[[File:P52-20_1-(1)06042015.png]]</center> | + | <center>[[File:P52-20_1-(1)06042015.png|link=]]</center> |
<center></center> | <center></center> | ||
| Line 9: | Line 9: | ||
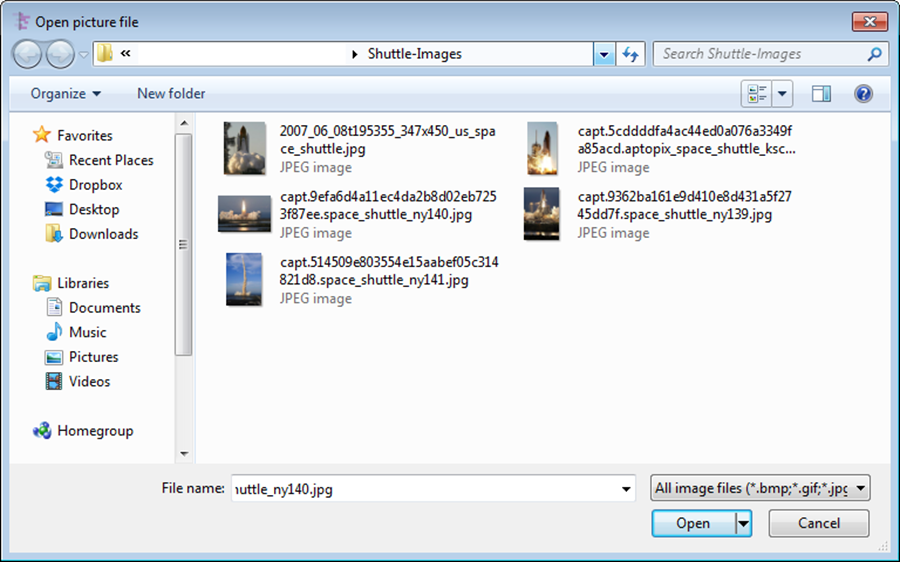
2) This brings up a standard Windows form that lets you select an image to insert: | 2) This brings up a standard Windows form that lets you select an image to insert: | ||
| − | <center>[[File:P52-20_1-(2)06042015.png]]</center> | + | <center>[[File:P52-20_1-(2)06042015.png|link=]]</center> |
<center></center> | <center></center> | ||
| Line 15: | Line 15: | ||
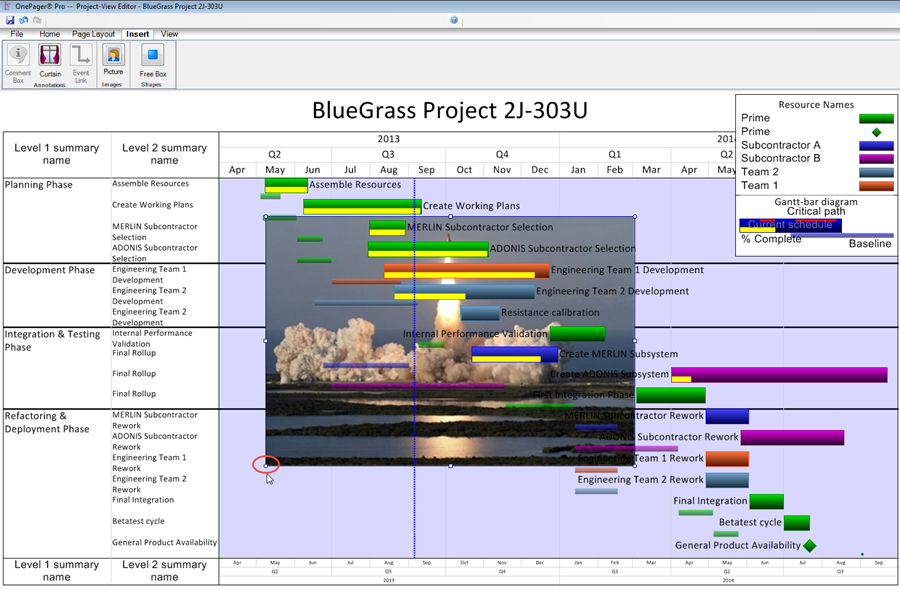
3) Selecting an image and pressing “Open” inserts the image into the center of the project view, as shown below: | 3) Selecting an image and pressing “Open” inserts the image into the center of the project view, as shown below: | ||
| − | <center>[[File:P52-20_1-(3)06042015.png]]</center> | + | <center>[[File:P52-20_1-(3)06042015.png|link=]]</center> |
(20.1) | (20.1) | ||
Latest revision as of 12:21, 11 January 2025
OnePager allows you to insert standard images into your project views and use them as backgrounds anywhere on the graph. Use the following steps to insert a background image:
1) To insert an image, go to the OnePager ribbon’s “Insert” tab and click the “Picture” button:
2) This brings up a standard Windows form that lets you select an image to insert:
3) Selecting an image and pressing “Open” inserts the image into the center of the project view, as shown below:
(20.1)