Adjusting Image Transparency for Version 7.0
About Adjusting Image Transparency
1) When images are initially imported into OnePager, they are opaque.
2) However, their transparency can be adjusted to make them more like a watermark.
3) To do this, follow the steps below:
Image Transparency Adjustment
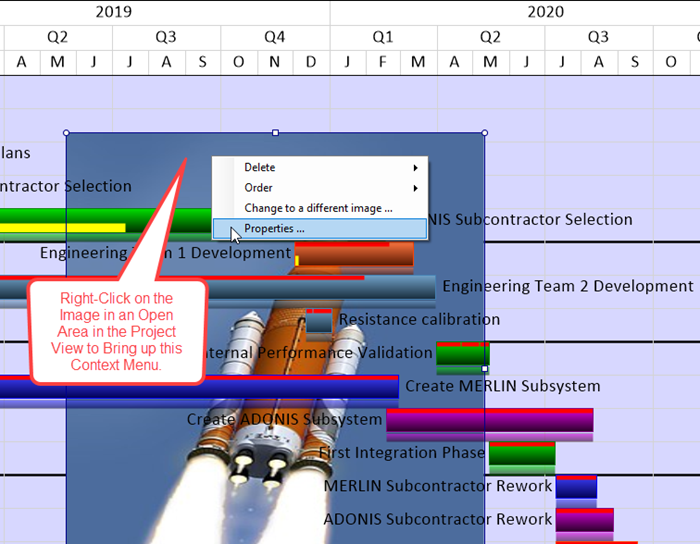
1) Right click the image where there are no tasks/milestones, decorations, or adornments to bring up the context menu shown below. Then click the Properties … command.

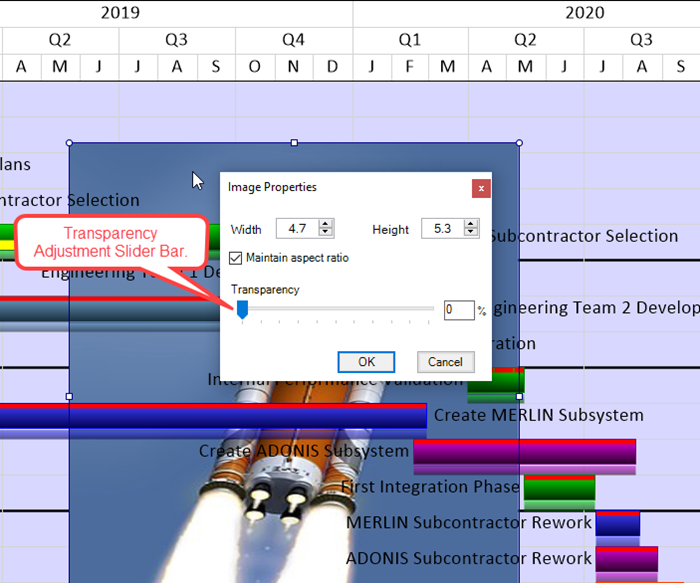
2) This action accesses the Image Properties form that lets you adjust transparency as shown below:

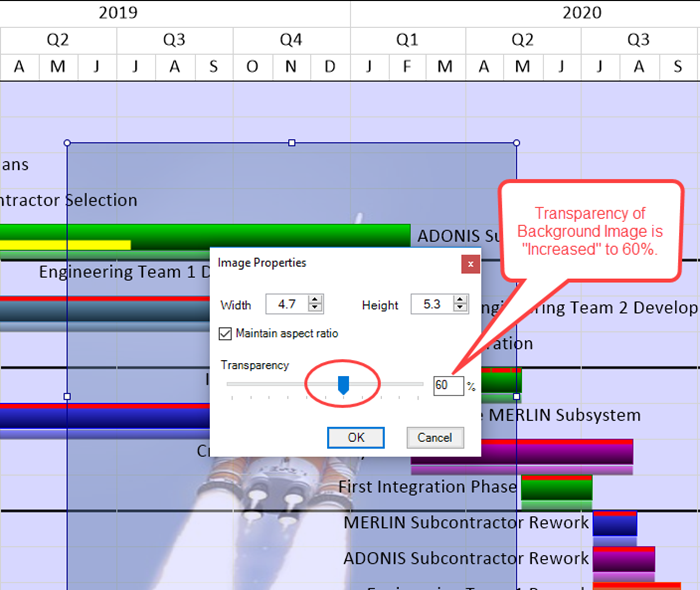
3) To increase the transparency, that is, to be able to see task/milestones and other objects behind the image, slide the Transparency bar to the right:

4) When you are at the level of transparency you want, click the OK button on the Image Properties form.
5) To decrease the transparency, that is, to be able to hide task/milestones and other objects behind the image, slide the Transparency bar to the left.
(20.3.1-70)