Creating New, Retrieving Existing, Saving, and Saving As
Contents
Creating New Project Views
Creating a NEW project view requires that Microsoft Project be open with a Microsoft Project plan displayed.
1) If you want to create a NEW project view from a Microsoft Project plan that is loaded, click the “OnePager Pro” button on the Microsoft Project tool bar and select the “NEW” button as shown below:

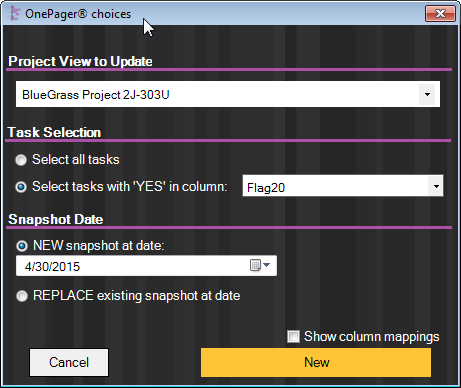
2) When you click the “NEW” button, OnePager will display the NEW “OnePager choices” form shown here:
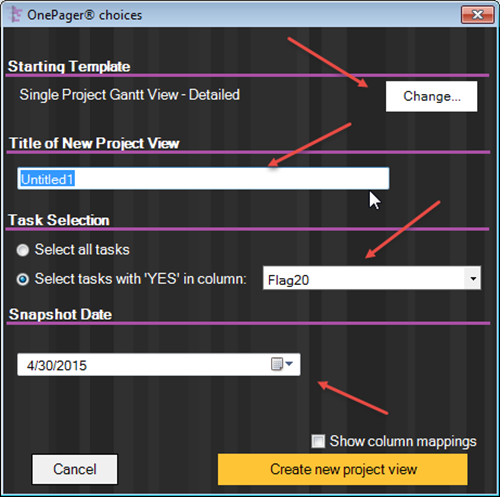
3) When the form opens, you have the option to change the starting template that gives the new project view its properties.
4) Type in a unique name for your project view that will be the default for its file name and will be displayed as the initial title for the project view.
5) Tell OnePager how to select tasks. If you specify a flag field, make sure that there are some “Yes” values in that column in Microsoft Project.
6) Specify a snapshot date (today’s date is fine).
7) When all the above selections are made, just click the “Create new project view” button and OnePager will produce and display your project view. Note, however, that it will not save the project view to a file until you tell it to do this.
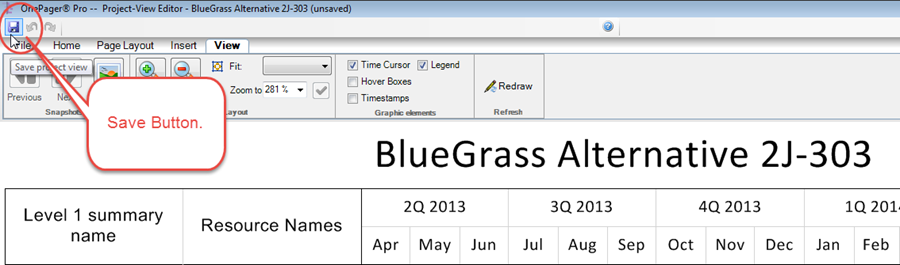
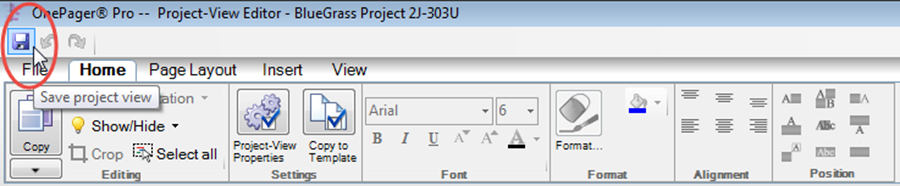
8) When you are ready to save your new project view clicks the Save icon (blue diskette icon) at the top of the Project-View Editor form and confirm the name of the TAM file that you want to use as shown below:
- a) When the Save Icon is clicked, OnePager will display the “Save” form as shown below. The name you entered as the title of the project view will be suggested as the name of the TAM file, but you can choose any name for the TAM file at this point.

- b) Click the “Save” button and your project view in the form of a .TAM file will be saved.
Retrieving a Project View (OPEN)
Retrieving an existing project view to edit or update it with new information from Microsoft Project was mentioned in the Getting Started section of the document.
Opening an Existing Project View:
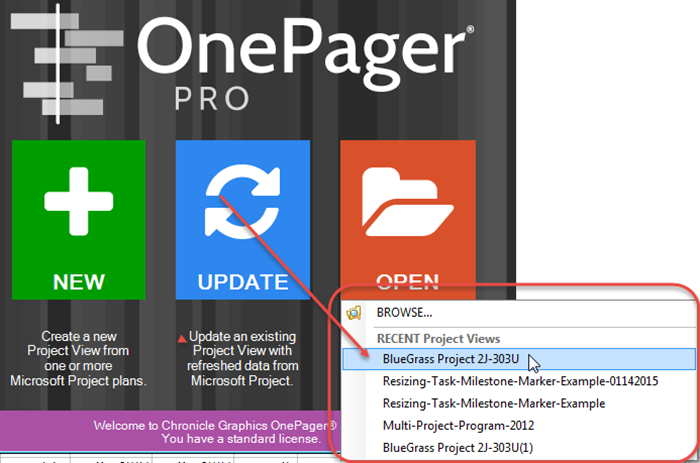
1) If you want to open an existing project view you, must first launch OnePager from Microsoft Project. When you do this the “OnePager Pro Start” form is displayed:

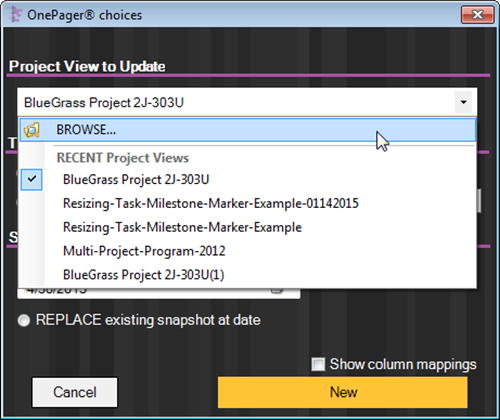
2) Clicking the “OPEN” button will display a context menu that gives you several options including BROWSE and a selection of recent project view files that you have previously opened as shown here:
3) Clicking any of the “RECENT Project Views” shown in the context menu above will immediately cause the selected project view to be displayed and ready for editing. Selecting the “BROWSE…” command will bring up a Windows “Open” form as illustrated here:
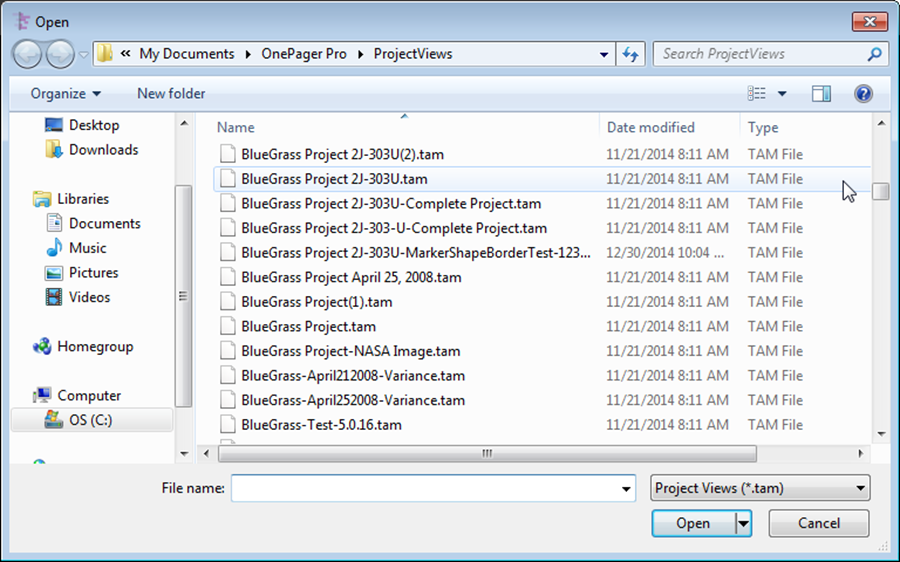
4) Select the desired project view and click the “Open” button at the bottom of the form. OnePager will respond by displaying the selected project view.
5) At this point you are ready to analyze the project view, edit the project view, or copy the project view to a presentation.
Updating an Existing Project View:
1) The “UPDATE” function is discussed in the Basic Workflows section of this document. The update function is used to create an additional snapshot from a Microsoft Project plan that has changed from the Microsoft Project plan used to originally create the project view. Or you can use the UPDATE function to modify the data in an existing snapshot.
2) As shown in the previous sub-section, launch OnePager as before but in this case click the “UPDATE” button on the “OnePager Pro Start” form shown above.
3) When you do this, the “OnePager choices” form will appear as shown here:
4) In the “Project View to Update” group is a drop down button that gives you the same BROWSE or RECENT project views options provided with the “OnePager Pro Start” form’s “OPEN” button:
5) When you’ve made your selection, click the “NEW snapshot at date” button and OnePager will import the new snapshot, and add it to your project view. Note, however, that the new snapshot will not be saved until you save the project view into its TAM file.
Saving a Project View (Save)
When a project view is created, opened, or updated, as with other Windows applications, the project view can be saved in several ways:
1) Above the OnePager tool bar and ribbon is a “Save” icon as shown below. When this icon is clicked, OnePager will automatically save the open project view in the TAM file you created when the project view was first created (NEW). If the project view has not yet been saved, then you will be prompted to create a TAM file for it.
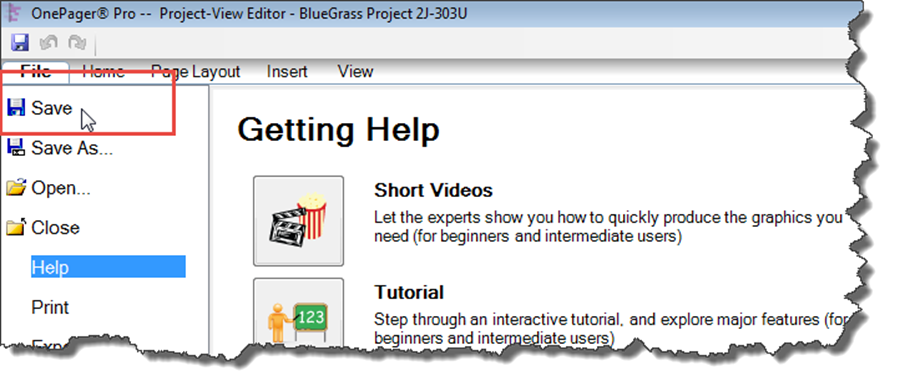
2) A second way to save an open project view is to click the “File” tab as shown below. When the “File” tab is displayed, just click the “Save” tab and the open project view will be saved:
3) A third way to cause the project view to be saved is to click the “Close” tab shown above which is the typical Windows method for closing the application. If no changes were made to the open project view, the application will be closed without saving. However, if changes were made to the project view during the session, a “Chronicle Graphics message” form will be displayed giving you the option to save the project view as shown below:
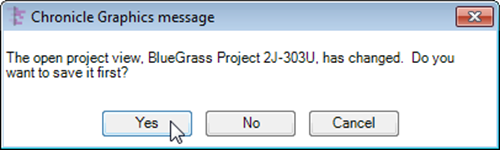
4) Finally, you can always force the saving of the project view if changes were made by clicking the white “X” in the upper right corner of the screen. Again, if no changes were made the OnePager application will close. If changes were made to the project view, the above “Chronicle Graphics message” will be displayed with the options shown.
Saving a Project View to a New TAM File (Save As)
At some point, you may want to create one or more additional project views that show the same imported data in a different way. For example, you may want to assign colors based on a different column. Or you may want to show critical path in one project view and not show it in another.
Please note: Saving a project view as a new TAM file is not the same as creating a template. Please review the Templates section of this document for information on creating proper templates.
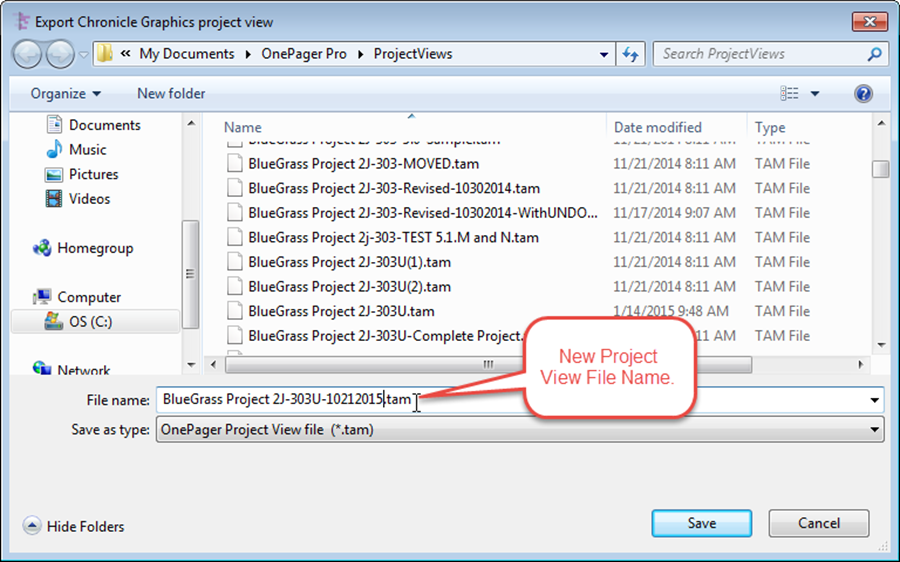
1) To create a new project view from an existing one, go to the OnePager project view ribbon and click the “File” button and then click the “Save as…” command. This will bring up the standard Windows “Save As” form as shown below:
2) Whenever you launch OnePager again and want to “OPEN” this file, it can be found by clicking the “OPEN” button in the “OnePager Pro Start” form, then clicking “BROWSE” and looking up the file in the Windows “Open” form as shown below:
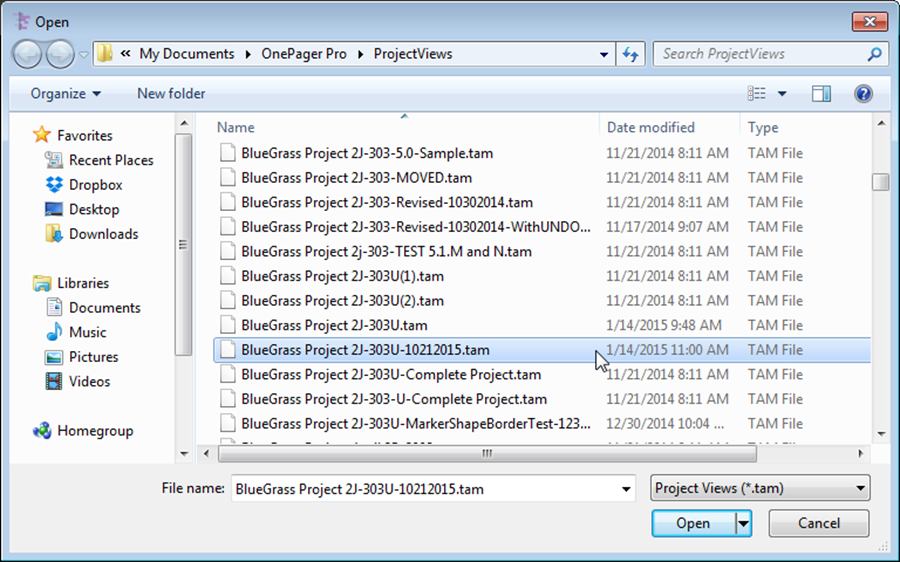
3) Selecting the file with a single left click and then clicking the “Open” button will load the file into OnePager.
(23.1)