Deleting, Ordering, and Changing Images
Contents
Deleting Images
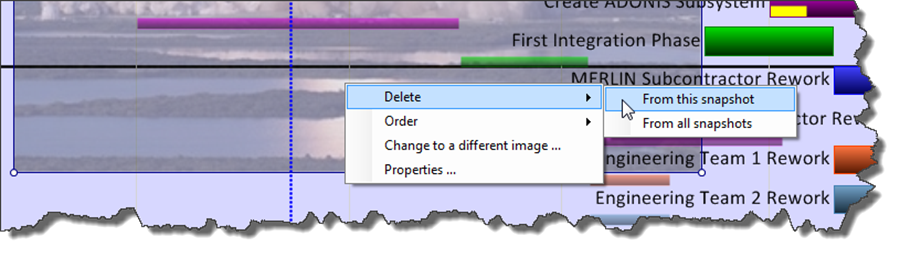
You have the option to delete an image from the current snapshot or all snapshots by making a selection from the “Delete” command and its sub-command as shown below:
Ordering Images
Images are always in the background, while tasks/milestones and other plan data are in the foreground. However, images can be ordered within the background layer.
Right-click the image and select “Order” from the context menu.
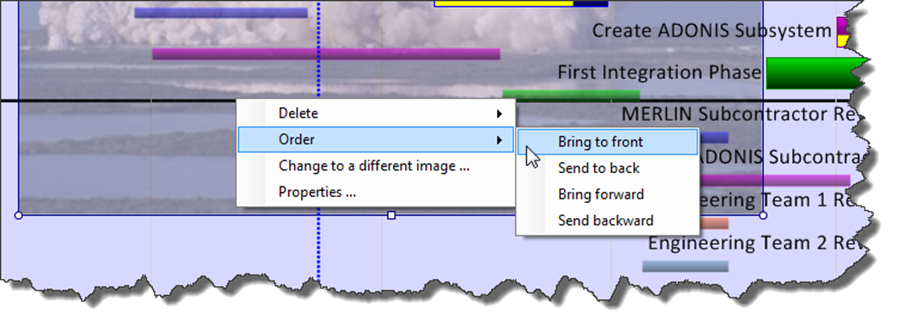
- a) Bring to the front: Position the image in front of all others in the background layer.
- b) Send to back: Position the image behind all others in the background layer.
- c) Bring forward: Incrementally, one z-Axis interval at a time, brings the image toward the front of the background layer.
- d) Send backward: Incrementally, one z-Axis interval at a time moves the image toward the back of the background layer.
Change to a Different Image
Once you’ve placed an image into the project view you have the option to change the background to a different image. Just follow the steps below:
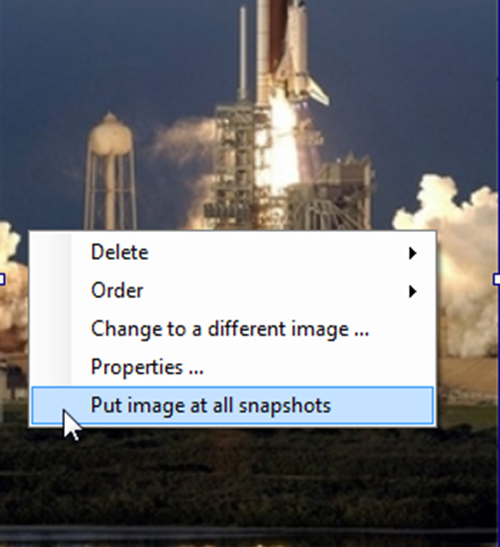
1) Right-click on the background image to bring up the context menu as shown above.
2) Then, click the “Change to a different image…” command which will bring up the OnePager “Open picture file” form as shown below:
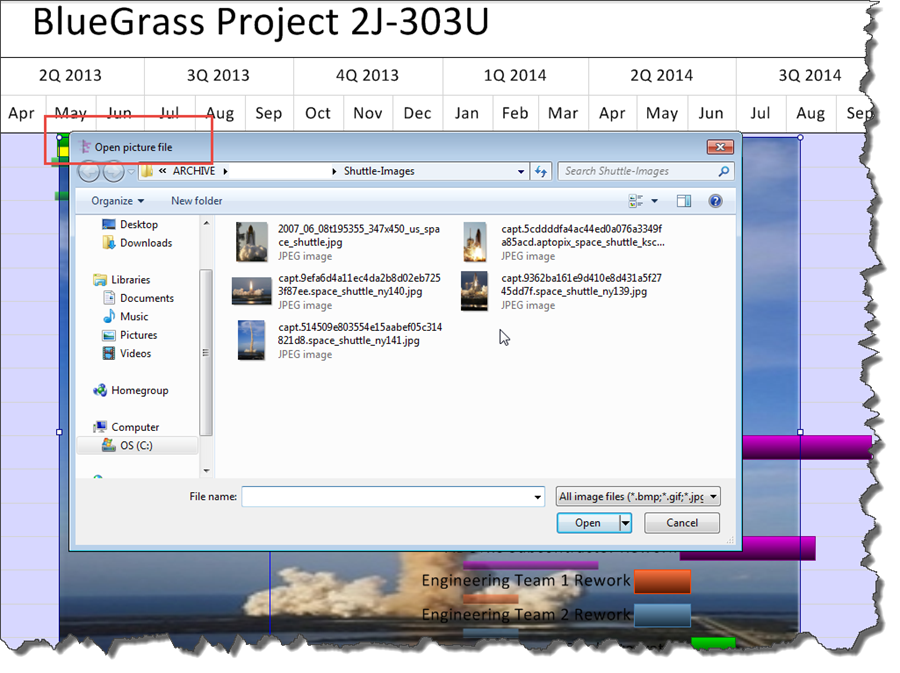
3) Select the image you want to replace in the project view and then click the “Open” button. OnePager will replace the current image in the displayed snapshot of the project view with the selected image retaining the size and other properties of the image that was replaced.
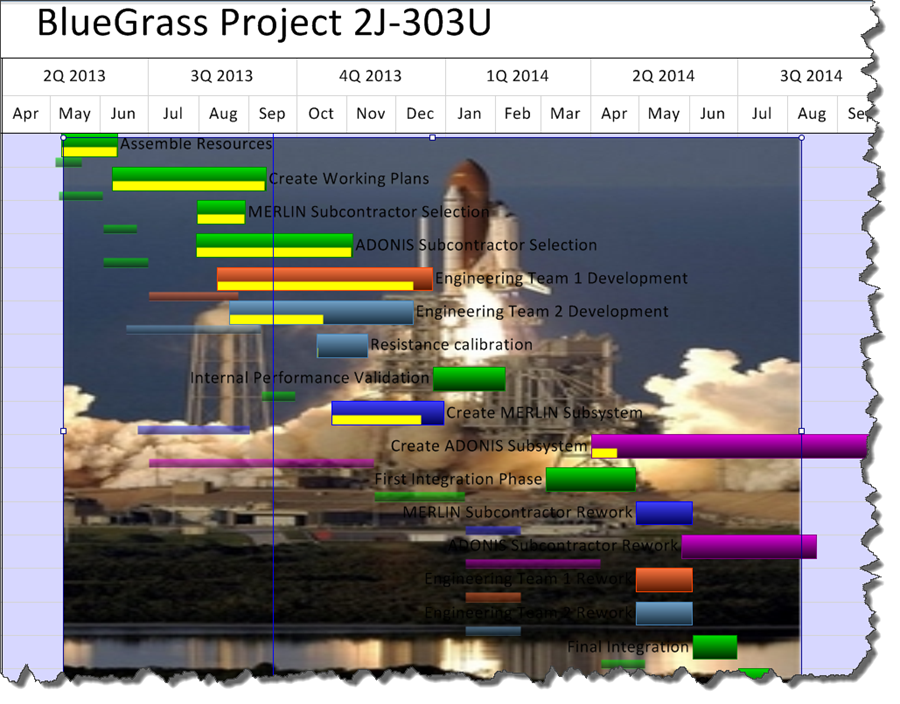
4) Normally, as show above, inserting an image into a project view will insert the image into all snapshots. However, when you purposely “Change to a different image…” the change applies only to the currently displayed snapshot. Other snapshots with images will retain the original image.
Putting Background Image in all Snapshots
5) To apply the image changes to all snapshots, right-click on the replaced image to view the context menu shown below and click the “Put image at all snapshots” command. This action will apply the changed image to all snapshots in the project view:
(20.4)