Inserting Background Images for OnePager Live
About Inserting Background Images
OnePager allows you to insert standard images into your project views and use them as backgrounds anywhere on the graph. Use the following steps to insert a background image:
1) To insert an image, go to the ribbon’s Insert tab and click the Picture button:

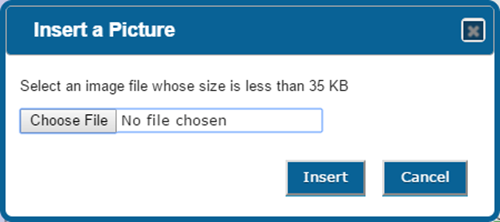
2) This brings up the Insert a Picture form that lets you select an image to insert:
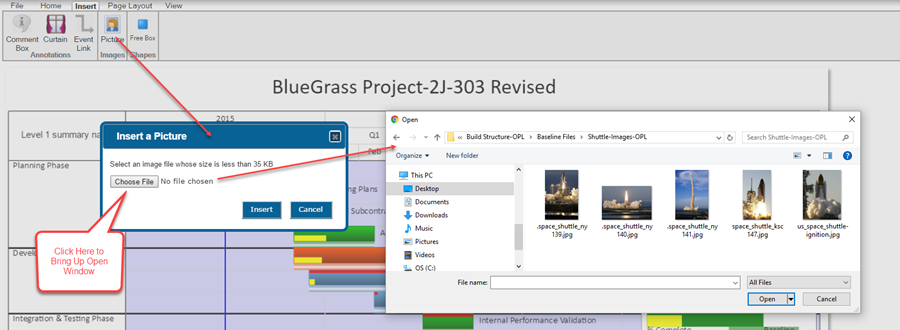
3) Click on the Choose File button and navigate to the location of the image you want to insert as shown below:
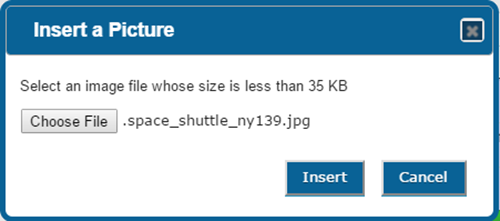
4) At the location of the image, select the image and click th Open button which will cause the selected file to be identified in the Insert a Picture form shown below:
5) When you click the Insert button on the Insert a Picture form, OnePager will place the selected image into the project view as shown below:

Important Note
6) You should note that images imported into a OnePager Live project view will be placed on top of OnePager Live generated graphics. This is different from OnePager Pro or OnePager Express, our desktop products. Given this, we recommend that imported images be positioned in the project view where they will not interfere or cover up elements of the project view that are necessary for you to accomplish your schedule conversation or presentation.
(20.1.1-OPL)