Row and Swimlane Borders for Version 6.0.1
Contents
Overview
Row and swimlane borders can be changed individually or by modifying the global default.
Row and swimlane border controls can be accessed by clicking the Show row borders or Show swimlane borders checkbox at the bottom of the Rows & Swimlanes tab of the Project-View Properties (PVP) form shown below:
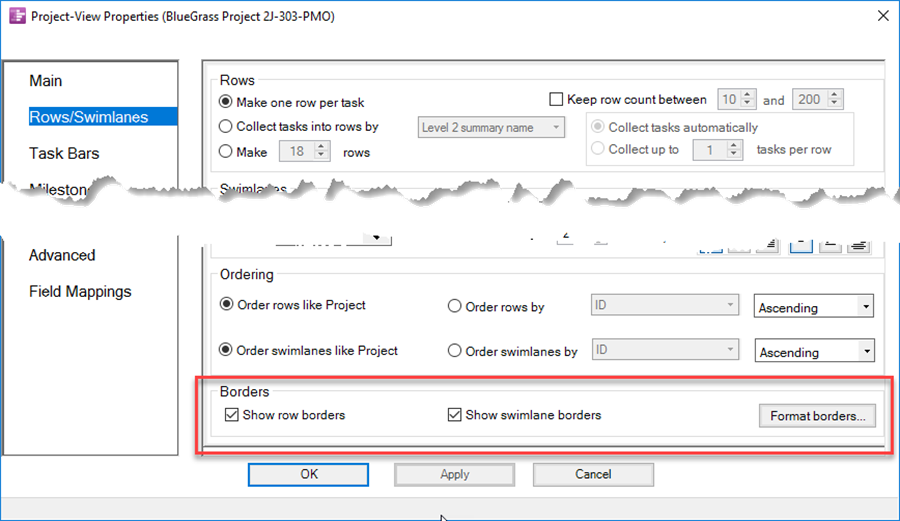
Row and Swimlane Border Controls
1) In the event that both row and swimlane borders are turned on, swimlane borders will override row borders whenever they overlap (e.g. between swimlanes).
2) Checking the Show row borders or Show swimlane borders checkbox will cause OnePager to show the default borders.
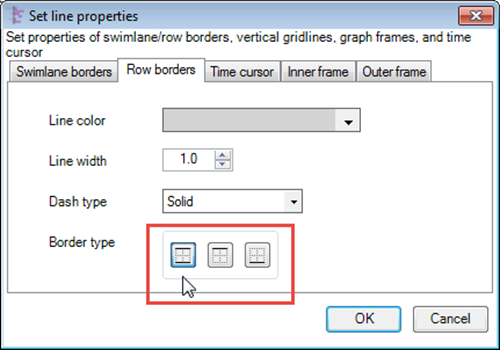
3) You may edit the borders by clicking the Format borders… button on the right side of the Borders group of the Rows & Swimlanes tab. Activating this button will display the tabbed Set line properties form shown below:
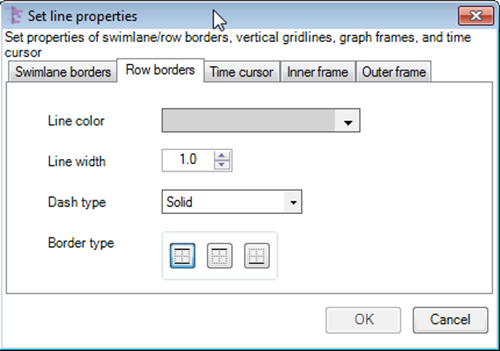
4) Select the Row borders tab to access the controls to set global row borders and the Swimlane borders tab controls global swimlane border settings. There are four controls in this tab as follows:
Line Color
- a) Clicking the Line color dropdown list will show the active Color Chooser form where you can select a color for the borders. You can change color palettes using the control in the Color Chooser dropdown list itself:
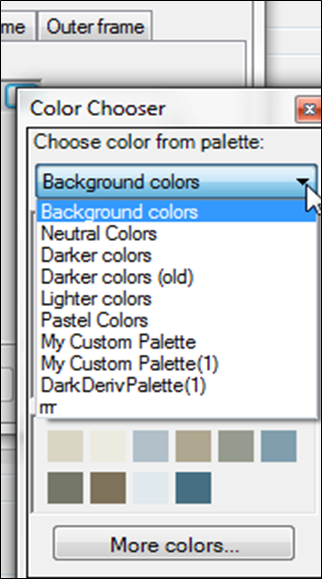
Line Width
- b) The width of the border line in font points (1/72nd of an inch) can be changed by using the selection window in the Line width control.

Dash Type
- c) There are five dash types as shown below:
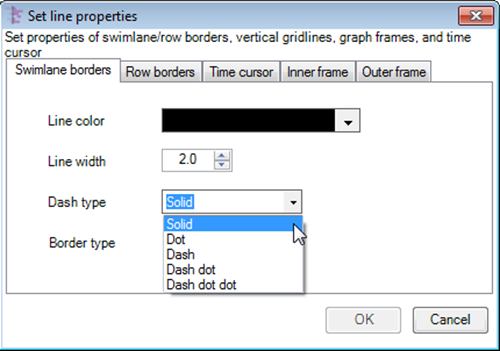
Border Type
- d) You have the option to apply the line color, line width, and dash type to both the upper and lower border of the row or swimlane; to just the upper border; or to just the lower border by selecting one of the three options for the Border type shown below:
4) Click the OK button to activate the selections and return to the Rows & Swimlanes tab or click Cancel to immediately return to the Rows & Swimlanes tab without making any border selections.
(12.7.1-60)