Creating Another New Project View - OnePager Live for OnePager Live
Overview
7.3.1-OPL Not edited beyond this point.
Often, there is more than one audience that is interested in seeing a schedule presented for a project. Each audience may want to see different elements of the schedule in a different representation. With OnePager, you can create different project views for the same project from the same Microsoft Project plan. This is accomplished by inserting two or more Flag/Number fields into the Microsoft Project plan’s columns then instructing OnePager to produce additional project views using these alternative Flag/Number fields.
For example, Flag20 may be used to produce the OnePager project view for an executive team, while Flag10 may be used as the flag for internal presentations. Further, Flag5 may be reserved to produce and update project views for customer. By inserting these three flag fields into the Microsoft Project plan and appropriately populating the cells with Yes and No, three different project views can be prepared, snapshots may be added to them, and updated or replaced as needed.
The steps to accomplish this process are similar to creating a NEW project view, but the steps differ slightly:
Procedures
1) Insert any additional Flag/Number columns into the Microsoft Project plan. These added Flag/Number columns will be used to determine which plan rows to import. Determine which of the task/milestone rows in the plan are to be included and set the Flag/Number cell to Yes leaving the remainder of the task/milestone row’s flag field set to No.
2) Launch OnePager from the desktop icon.
3) The OnePager splash page will appear briefly followed by the OnePager Project View Editor (PVE) form displaying the OnePager Pro Start form as shown below:
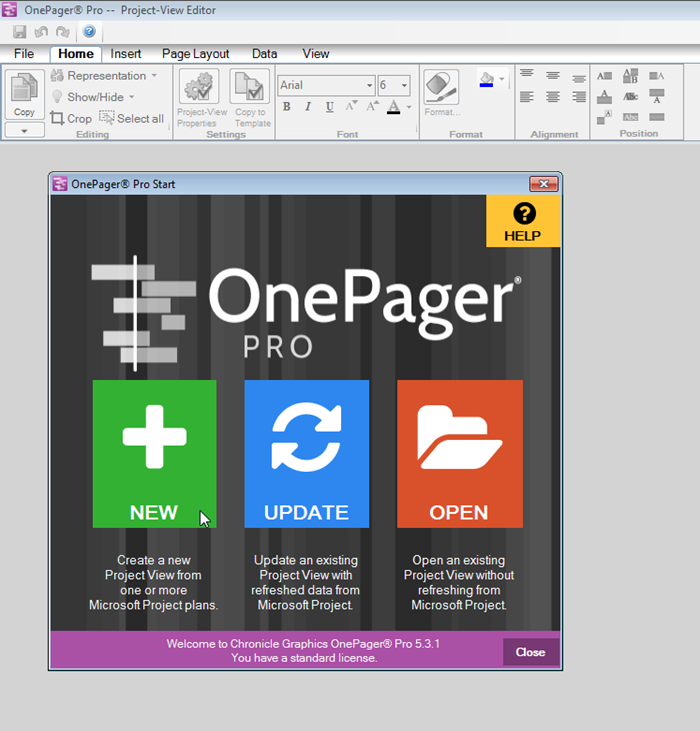
4) At the completion of step 3) when you click the “NEW” button, OnePager will display an abbreviated OnePager choices (OPC) form as shown below:
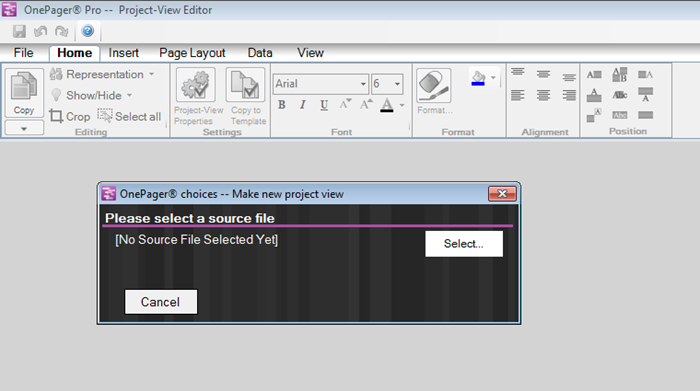
5) After you've made your source file selections, OnePager will display an expanded OnePager choices (OPC) form as shown below:
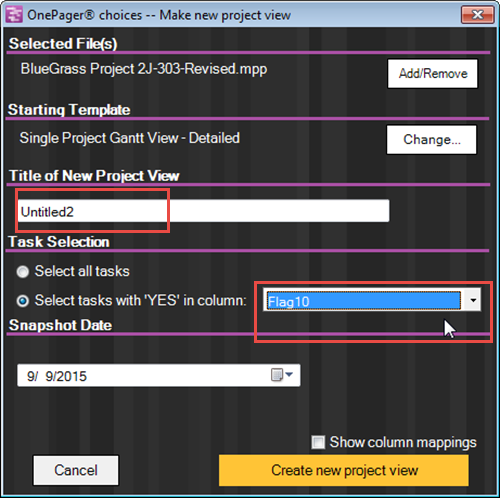
6) When you create another project view, we suggest that you give the new project view with the alternate flag a new name that is suggestive of the different audience to which it may be presented. Each project view or .TAM file has its own unique file name and path name so to avoid confusion it is best to create unique file names for project views from the same Microsoft Project source file that uses an alternative flag field.
7) Once satisfied with the project view name and selection of flag field, click the Create new project view button (if you did not check the Show column mappings checkbox) or the Next>button (if you did check the Show column mappings” checkbox) to create the project view. In this example, OnePager will import the data from the Microsoft Project plan under the control of Flag10.
Related Links
Creating a NEW Project View - OnePager Live 7.1.1-OPL
Creating a NEW Project View from Microsoft Project Server/Online 7.13.1-OP
Creating Another New Project View - OnePager LIve 7.3.1-OPL
Opening an EXISTING Project View - OnePager LIve 7.5.1-OPL
ADDING a Snapshot - OnePager Live 7.7.1-OPL
ADDING a Snapshot from Microsoft Project Server/Online 7.15.1-OP
REPLACING a Snapshot - OnePager Live 7.9.1-OPL
REPLACING a Snapshot with Microsoft Project Server/Online 7.14.1-OPL
Custom Update (Replacing) of a Snapshot with Microsoft Project Server/Online 7.1.16.1-OP
Using the OnePager Live Data Tab's Selected file(s) Button 7.17.1-OPL
Merging the Wrong Tasks into a Project View from Microsoft Project 7.11.1-OPL
Merging the Wrong Tasks into a Project View from Microsoft Excel 7.12.1-OPL
(7.3.1-OPL)