Deleting Images for OnePager Live
Contents
Image Management
20.4.2-OPL Not Edited Beyond this Point.
Once an image is inserted into a project view you have the controls necessary to delete the image.
Deleting Images
1) You have the option to delete an image from the current snapshot or all snapshots by first right-clicking on the image and then making a selection from the Delete command and its sub-command as shown below:
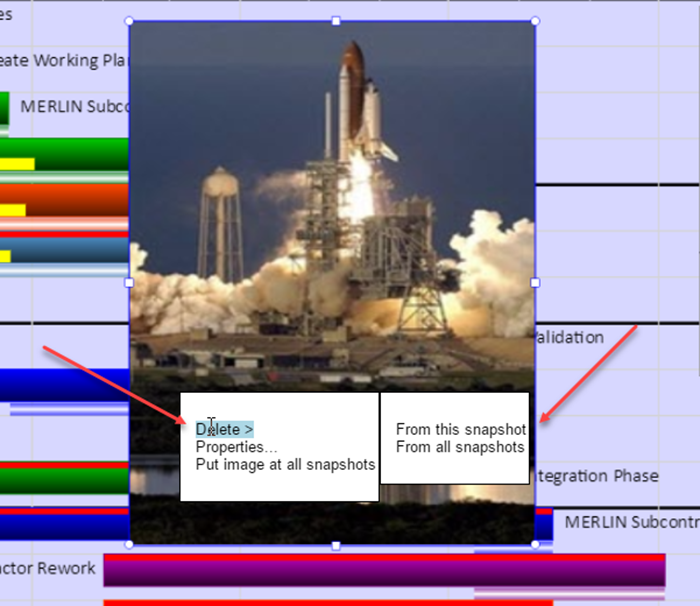
2) You have the option, as noted in the delete and image discussion above, to delete images from individual snapshots. To do this it requires going to the desired snapshot and specifically using the Delete command with the From this snapshot sub-command to achieve the desired result. This option works in the same way as deleting curtains from specific snapshots. Please see this article for reference: Creating and Managing Curtains 16.0.1-OPL.
Putting Background Image in all Snapshots
To apply the image change to all snapshots, right-click on the replaced image to view the context menu shown below and click the Put image at all snapshots command. This action will apply the changed image to all snapshots:

Important Note
You should note that images imported into a OnePager Live project view will be placed on top of OnePager Live generated graphics. This is different from OnePager Pro or OnePager Express, our desktop products. Given this, we recommend that imported images be positioned in the project view where they will not interfere or cover up elements of the project view that are necessary for you to accomplish your schedule conversation or presentation.
(20.4.2-OPL)